Interior Rendering Lighting and Materials: Time of Day, Light Sources, Color Temperature and Finishes
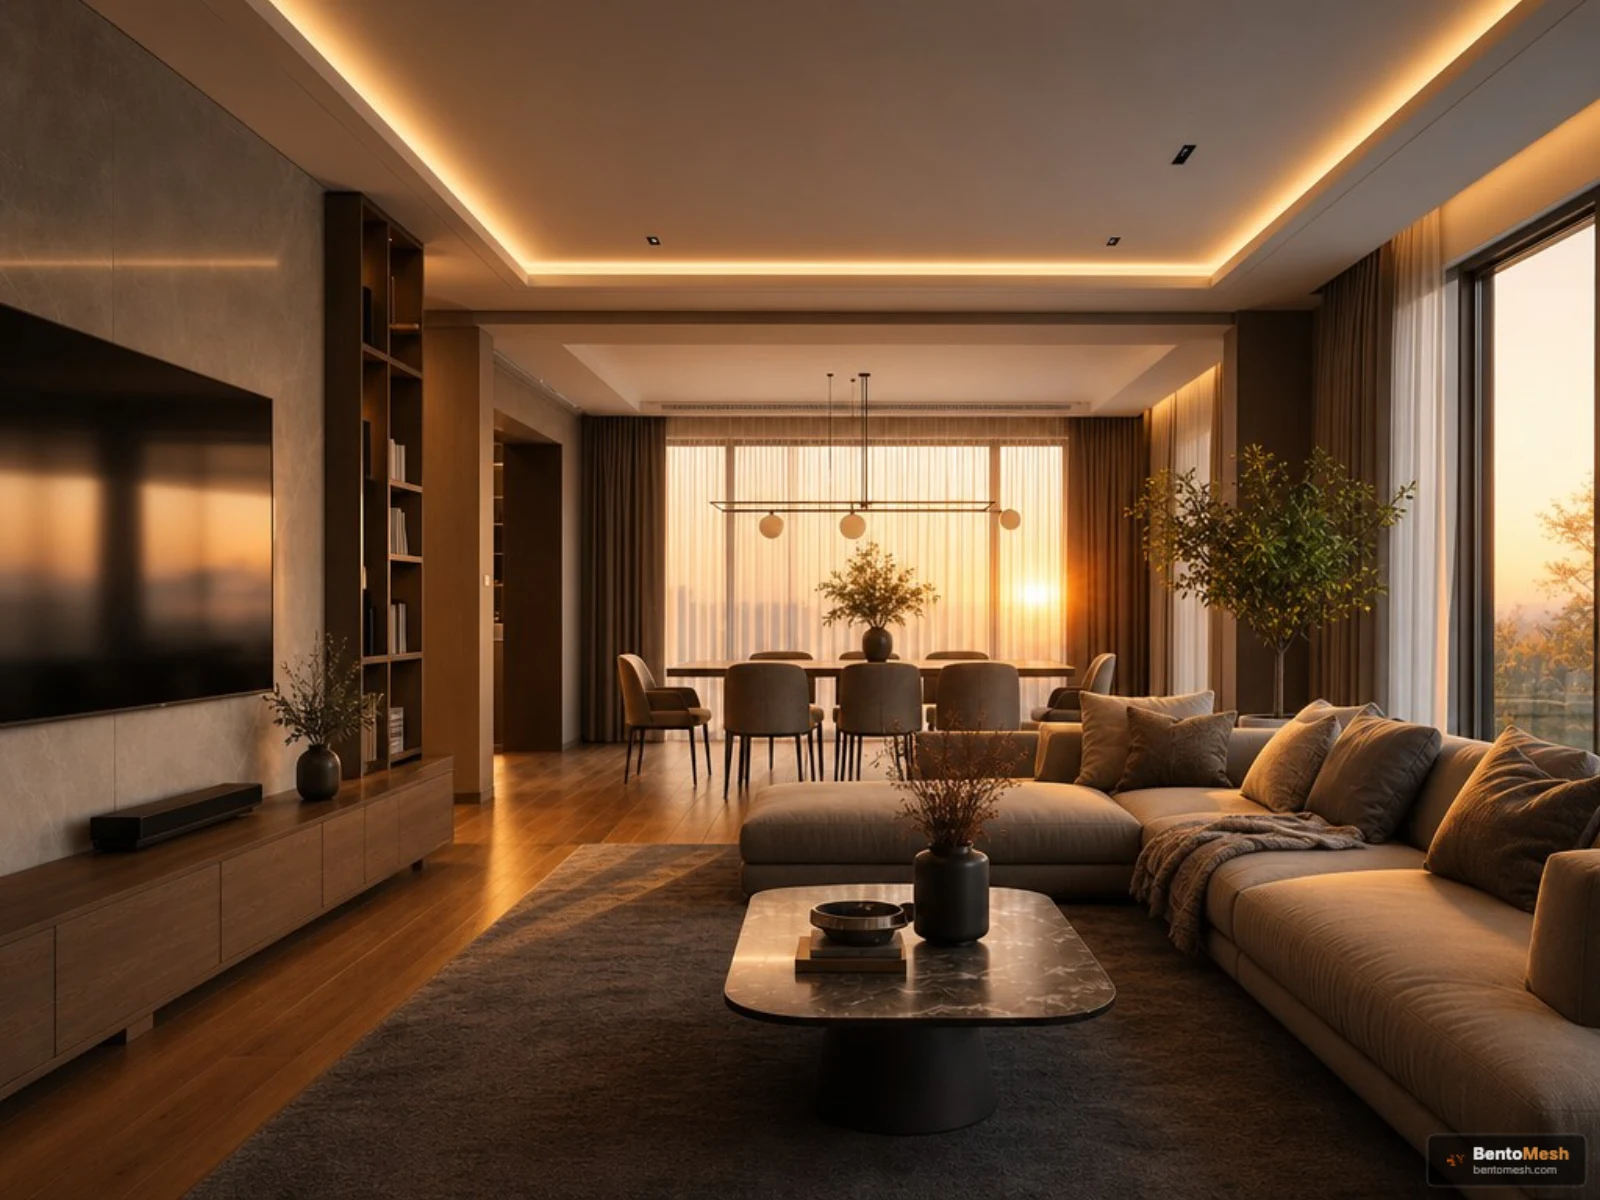
Short answer: A believable interior render comes from three decisions that agree: the time of day, which lights are on and how warm they are, and the finishes that catch that light. Most renders look flat or fake because the light has no clear direction, color temperatures clash, or every surface has the same sheen. In BentoMesh, a Turkish-first AI visualization platform, you set these in the Generate from Scratch form, or change them on an existing image with the Lighting and Material tasks in Edit Render. The result is a presentation image, not a lighting calculation; check finishes against real samples.
Batuhan Oğan · 13 min read · Published: 2026-10-15 · Updated: 2026-10-15
Why does an interior render look flat or fake?
Usually it is not one wrong setting: the image never makes clear where the light comes from. We judge a room photo by light direction, shadow softness and how each surface catches the light; remove one and it reads as a render.
| Symptom | Likely cause | First thing to try |
|---|---|---|
| Everything is evenly bright, no shadows | The light has no direction | Pick Daytime or Golden hour; on an existing image, change the light direction |
| The room looks like it sits under an orange or blue filter | Color temperature pushed too far, or several tones mixed | Move to Neutral 4000 K and switch on fewer light sources |
| Floor, walls and furniture look like plastic | Every surface has the same sheen | Balance glossy and matte finishes, for example polished concrete next to limewashed walls |
| The night version is either pitch black or looks like daytime | It is unclear which fixtures are on | Choose the light sources yourself; in a source image, keep the fixtures visible |
A dark source image, or one shot into a window, gives a weak result whatever you select. For a second opinion, Render Analysis scores an image from 1 to 10 and lists strengths, a critique and professional tips. Treat it as an AI opinion, not a verdict.
Which time of day should you choose for an interior render?
Choose it by what the image has to do. Daytime shows materials most honestly; Golden hour or Sunset feel warm and inviting; Blue hour or Night put the fixtures and hidden lighting on stage. In BentoMesh, without a source image, this is the first row of the Light section in the Generate from Scratch form, a mode inside Render Lab; the same form opens as Create from Scratch on the Create Render page. Descriptions below come from the interface; suggestions are general practice.
| Time of day | Interface description | When it helps (general practice) |
|---|---|---|
| Dawn | Soft pink-violet light on the horizon | Bedrooms, a quiet morning mood |
| Daytime | Angled sun, bright and soft | Material and color decisions, first presentations |
| Noon | High sun, crisp short shadows | A hard, graphic look; use with care indoors |
| Golden hour | Low warm sun, long soft shadows | Living and dining rooms with a warm atmosphere |
| Sunset | Warm orange glow on the horizon | A window with a view, a cover image |
| Blue hour | Deep blue twilight, lights on | Showing daylight and lamplight in the same frame |
| Night | Dark sky, only artificial light | Putting the lighting design front and center |
| Late night | Moonlight and artificial light | A dim, cinematic mood |
Two behaviors matter. In daytime options the lamps are off, so select the pendant or table lamp under Light sources if you want it glowing. At Blue hour, Night and Late night, artificial light is added automatically when you select no light sources; pick them yourself to decide which fixtures are on.
Sky and windows
Sky options are Auto, Clear sky, Scattered clouds, Overcast, After rain, Snowy and Light mist. Overcast gives diffuse, almost shadowless light: less glare, but a flatter room. The Sun rays mood is off for night scenes. Set the windows to No windows in Room & windows and time of day, sky and sun rays are not applied; the room is lit artificially. For a windowless bathroom or corridor, think about light sources, not the clock.
Warm or neutral light: should an interior render use 2700K or 4000K?
As a rule of thumb, homes use warm 2700 K where people relax and neutral 4000 K where they work or cook; the room and its finishes can change that. In Generate from Scratch without a source image, Light sources is a multi-select: Hidden LED, Pendant, Spotlights, Sconce, Floor and table lamps, Candles and Neon accent. Color temperature offers Auto, Warm 2700 K, Neutral 4000 K and Cool 5000 K.
| Space | Common tone (rule of thumb) | Light source ideas |
|---|---|---|
| Living room | Warm 2700 K | Hidden LED, floor and table lamps, sconces |
| Bedroom | Warm 2700 K | Sconces, table lamps, hidden LED |
| Dining area | Warm 2700 K | A pendant over the table |
| Kitchen counter, bathroom | Neutral 4000 K | Spotlights |
| Study, office | Neutral 4000 K | Spotlights, pendants |
| Shop, showroom | Neutral 4000 K or Cool 5000 K | Spotlights |
One tone or mixed tones?
The form applies one color temperature to every light source you select, which prevents clashing tones. If you want two tones on purpose, say a warm table lamp and a neutral counter spotlight, write it in Your note; when a note conflicts with the choices, the note wins. Still, start with a single tone.
Color temperature describes the lamps that are on. In a daytime scene with no light sources selected it does not tint daylight, so for a warm daytime image move the clock to Golden hour. For the real bulb, read the kelvin value on the box; a tone you like on screen will not necessarily look the same in your room.
What changes when you relight a render from a source image?
Load a source image into Generate from Scratch and the camera, geometry and scale are kept, and the lighting choices shrink to five: Keep source lighting, Daytime, Golden hour, Blue hour and Night. Lighting uses only existing openings and fixtures, a deliberate rule so your project does not turn into a different one.
- Keep source lighting: time of day, light direction and which fixtures are on stay as they are; exposure can improve.
- Blue hour or Night: visible fixtures may be switched on and light may enter through existing windows. No new LED strips, cove lighting, backlit panels, lamps, spotlights or sconces are added.
- No fixtures in the source: the room stays dim and is lit only through its openings. A dim, honest result is the correct one here.
- No sky, light source, color temperature or mood choices: with a source image only these five lighting options remain, and light mist and sun rays are not applied.
The same rule applies to views sent from the SketchUp and 3ds Max plugins, so leave fixtures visible in the model if you want an evening image.
Where do you test a new light fixture?
| What you want | Where | What happens |
|---|---|---|
| See the same scene at dusk with its existing fixtures | Generate from Scratch with a source image, Blue hour or Night | No new light sources are added |
| Try ceiling spotlights or a new lamp | Edit Render in Render Lab, Lighting task | Fixtures are added only when you ask for them |
| Change light direction and brightness | The Relight panel (desktop browser) in the workspace of a Render Lab Quick Render result | Light Direction, Brightness and Time (Day or Night) |
The Lighting task in Edit Render changes only light, shadows and time of day; the space and furniture stay the same. Its examples include “Add warm recessed spotlights to the ceiling” and “Make it night with the interior lamps on”. In Relight you pick the light direction (Top, Front, Right, Left, Back or Bottom) and brightness. Inside Render Lab, the Edit this button sends a Generate from Scratch result straight to Edit Render.
How do you choose floor, wall, ceiling and joinery finishes?
Pick the big surfaces first, floor and walls, then ceiling and joinery, and think about how light will behave on each. In Generate from Scratch, the Surfaces row in the Materials section has four interior groups for most room types (in bathrooms, kitchens and terraces some rows switch to room-specific questions or are hidden); Auto leaves the choice to the style.
- Floor: Light oak planks, Oak herringbone, Walnut, Polished concrete, Microcement, Marble, Travertine, Terrazzo, Large-format tiles, Carpet.
- Walls: White paint, Limewash, Wood battens, Wood panelling, Brick, Natural stone, Marble cladding, Wallpaper, Fabric panels.
- Ceiling: Flat white, Lit cove, Timber beams, Wood battens, Exposed concrete, Cornice.
- Joinery: White matte lacquer, Light oak, Walnut, Smoked oak, Coloured lacquer, Black metal and glass.
The section also takes up to three accent materials, a color palette and an accent color; Coloured lacquer applies only with an accent color. With a source image, finishes apply only to surfaces already in it. For a glowing Lit cove ceiling in daytime, select Hidden LED too, since lamps are off in daylight.
How do finishes react to light?
- Glossy finishes (polished concrete, marble, lacquer) show reflections of spotlights and windows; too many reflections make the image busy.
- Matte finishes (limewash, fabric panels, carpet) spread light softly and keep shadow transitions calm.
- Dark wood (walnut, smoked oak) absorbs light, so a small room reads darker and warmer; light oak or travertine bounce it back.
How do you change materials on an existing image?
With an existing render or photo, the Material task in Edit Render changes only materials and colors; positions, shapes and lighting are kept. Examples include “Make the floor oak parquet” and “Paint the walls anthracite gray”.
Working from a plan, Space Workshop (Mekan Atölyesi) offers parquet, laminate, vinyl, tile, marble, carpet and polished concrete floors, or an image of your own floor. Its optional instruction field steers light, mood, colors and style without adding furniture.
What is a good workflow for testing lighting and materials together?
Once you have a style direction, lock the lighting first, then change materials, one thing per round, so you can see which decision helped. Light changes how every surface reads, so material choices made while the light is still moving mislead you.
1. Prepare the source. JPG, PNG or WEBP, up to 15 MB. The free Make File Compatible tool shrinks large files in your browser; the file does not leave your device at that step.
2. Pick a style direction first. Style Comparison, in its interior mode (labeled İç Cephe), renders the same room photo in each interior style you pick, side by side, with a ZIP download. Each style brings its own palette, finishes and lighting mood, so do this before you lock the light.
3. Lock the light. Without a source, set time of day, sky, light sources and color temperature; with one, start from Keep source lighting.
4. Change materials one at a time with the Material task in Edit Render.
5. Manage versions. Click any version in the Edit history to continue from it; “Apply to the original image” edits the image you first uploaded. Check each step with Before / After.
6. Check shadows, reflections, window count and fixture positions, with Render Analysis as a second opinion.
7. Finish by enlarging the chosen image 2x or 4x with Upscale.
(Example scenario) A client asks for a living room render to feel “a bit warmer”. The designer opens it in Edit Render, picks the Lighting task and writes “Give it warm sunset light”; room and furniture stay put. Once the mood is approved, the designer leaves the light alone, uses the Material task for an oak parquet floor and shows both versions with Before / After.
What can an AI interior render not tell you?
It will not give you numbers, a lighting design or the true look of a specific product. Keep these limits in mind:
- It is not a lighting calculation. No lux values, illuminance levels or fixture counts, and no replacement for a lighting or electrical design. Make installation decisions with a qualified professional, based on official design documents.
- Render color temperature is not a measurement. The 2700 K look was not measured, and color shifts between screens. Choose bulbs by the value on the box.
- It is not a measurement. The image gives no room dimensions or flooring and cladding quantities; take those from real measurements.
- A material is not a product. “Marble” or “walnut” is a general description, not a specific product's veining or tone. Decide with physical samples seen in the room's own light.
- Geometry can change. Even with a source image, windows, fixtures or furniture can come out differently; BentoMesh does not guarantee geometry is fully preserved. Compare every result with the source.
- Light absent from the source is not added, so an evening scene from a source image can come out dim.
- Processing happens in the cloud, on the BentoMesh server and at a third-party AI provider that produces the image. Check permissions for confidential projects.
- It is an illustration. Say it is a rendering when you show it to a client or use it in a listing.
- The free tier adds a watermark to generated images.
- There is no Android app. The iPhone app has lighting and material-and-color tools; the list may change between versions.
Registration is free; when you verify your email or phone number, or sign in with Google or Apple, a one-time welcome credit is added to your account, subject to the conditions on the sign-up page. Current packs are on the credits page. This guide is also available in Turkish: Türkçe sürüm / Read in Turkish.
Frequently asked questions
What color temperature should I use for an interior render?
As a rule of thumb, warm 2700 K suits living rooms, bedrooms and dining areas, and neutral 4000 K suits kitchen counters, bathrooms and workspaces. Without a source image, Generate from Scratch offers Warm 2700 K, Neutral 4000 K and Cool 5000 K, applied to every light source you select. In a daytime scene with no light sources selected, it does not change the daylight.
Why does my interior render look flat or too dark?
Flat renders usually come from light with no clear direction and surfaces that share the same sheen; Daytime or Golden hour plus a mix of glossy and matte finishes often fixes it. Dark results tend to come from a night scene without fixtures or a dark source image. Keep fixtures visible in a source image, or choose the light sources yourself.
Where does the light come from in a night interior render?
Without a source image, it comes from the light sources you select, such as Hidden LED, Pendant, Spotlights or Floor and table lamps; at Blue hour, Night and Late night, artificial light is added automatically if you select none. With a source image, light comes only from fixtures and openings already in it, so a room without fixtures stays dim.
Can the AI add new lamps or LED strips when I render from a source image?
No. With a source image, the lighting options are Keep source lighting, Daytime, Golden hour, Blue hour and Night, and no new LED strips, cove lighting, lamps or spotlights are added; the SketchUp and 3ds Max plugins follow the same rule. To try a new fixture, use the Lighting task in Edit Render, where fixtures are added only when you ask.
Will the render show the exact material or product I picked?
No. Marble, walnut or travertine are general descriptions, not the veining, tone or texture of a specific product, and screens shift color too. Use the image to find a direction and decide with physical samples seen in the room. Uploading your own floor image in Space Workshop brings the result closer to your material, but it is not an exact copy.
Should I change the lighting or the materials first?
Lock the lighting first, then change materials. Light changes the color and sheen of every surface, so a material decision made while the light is still moving is unreliable. Change one thing per round; the Material task in Edit Render keeps the lighting, and the edit history lets you return to a version you liked.
Can an AI render replace a lighting design or lighting calculation?
No. An AI render is a presentation and decision image. It does not calculate lux values, illuminance levels, fixture counts or electrical loads, and it does not replace official design documents. Use it to agree on mood and lighting ideas with a client, then have the lighting and electrical design prepared by a qualified professional before anything is installed.