How to Improve a Flat Render With AI: Fix Light, Materials and Resolution Without Rendering It Again
Short answer: To improve a flat render with AI without rendering it again, first work out why it looks flat: light, materials, an empty scene or low resolution. Then ask for one change per round. In BentoMesh, a Turkish-first AI visualization platform, you do this with the Material, Lighting, Add, Remove and Style tasks of Edit Render inside Render Lab, and you enlarge the image last. There is no guarantee that the result stays identical to your source: windows, furniture shapes and framing can change, so compare every round with the original. If the problem is in the model itself, such as dimensions, layout or camera, go back to your render engine and render again.
Batuhan Oğan · 15 min read · Published: 2026-11-11 · Updated: 2026-11-11
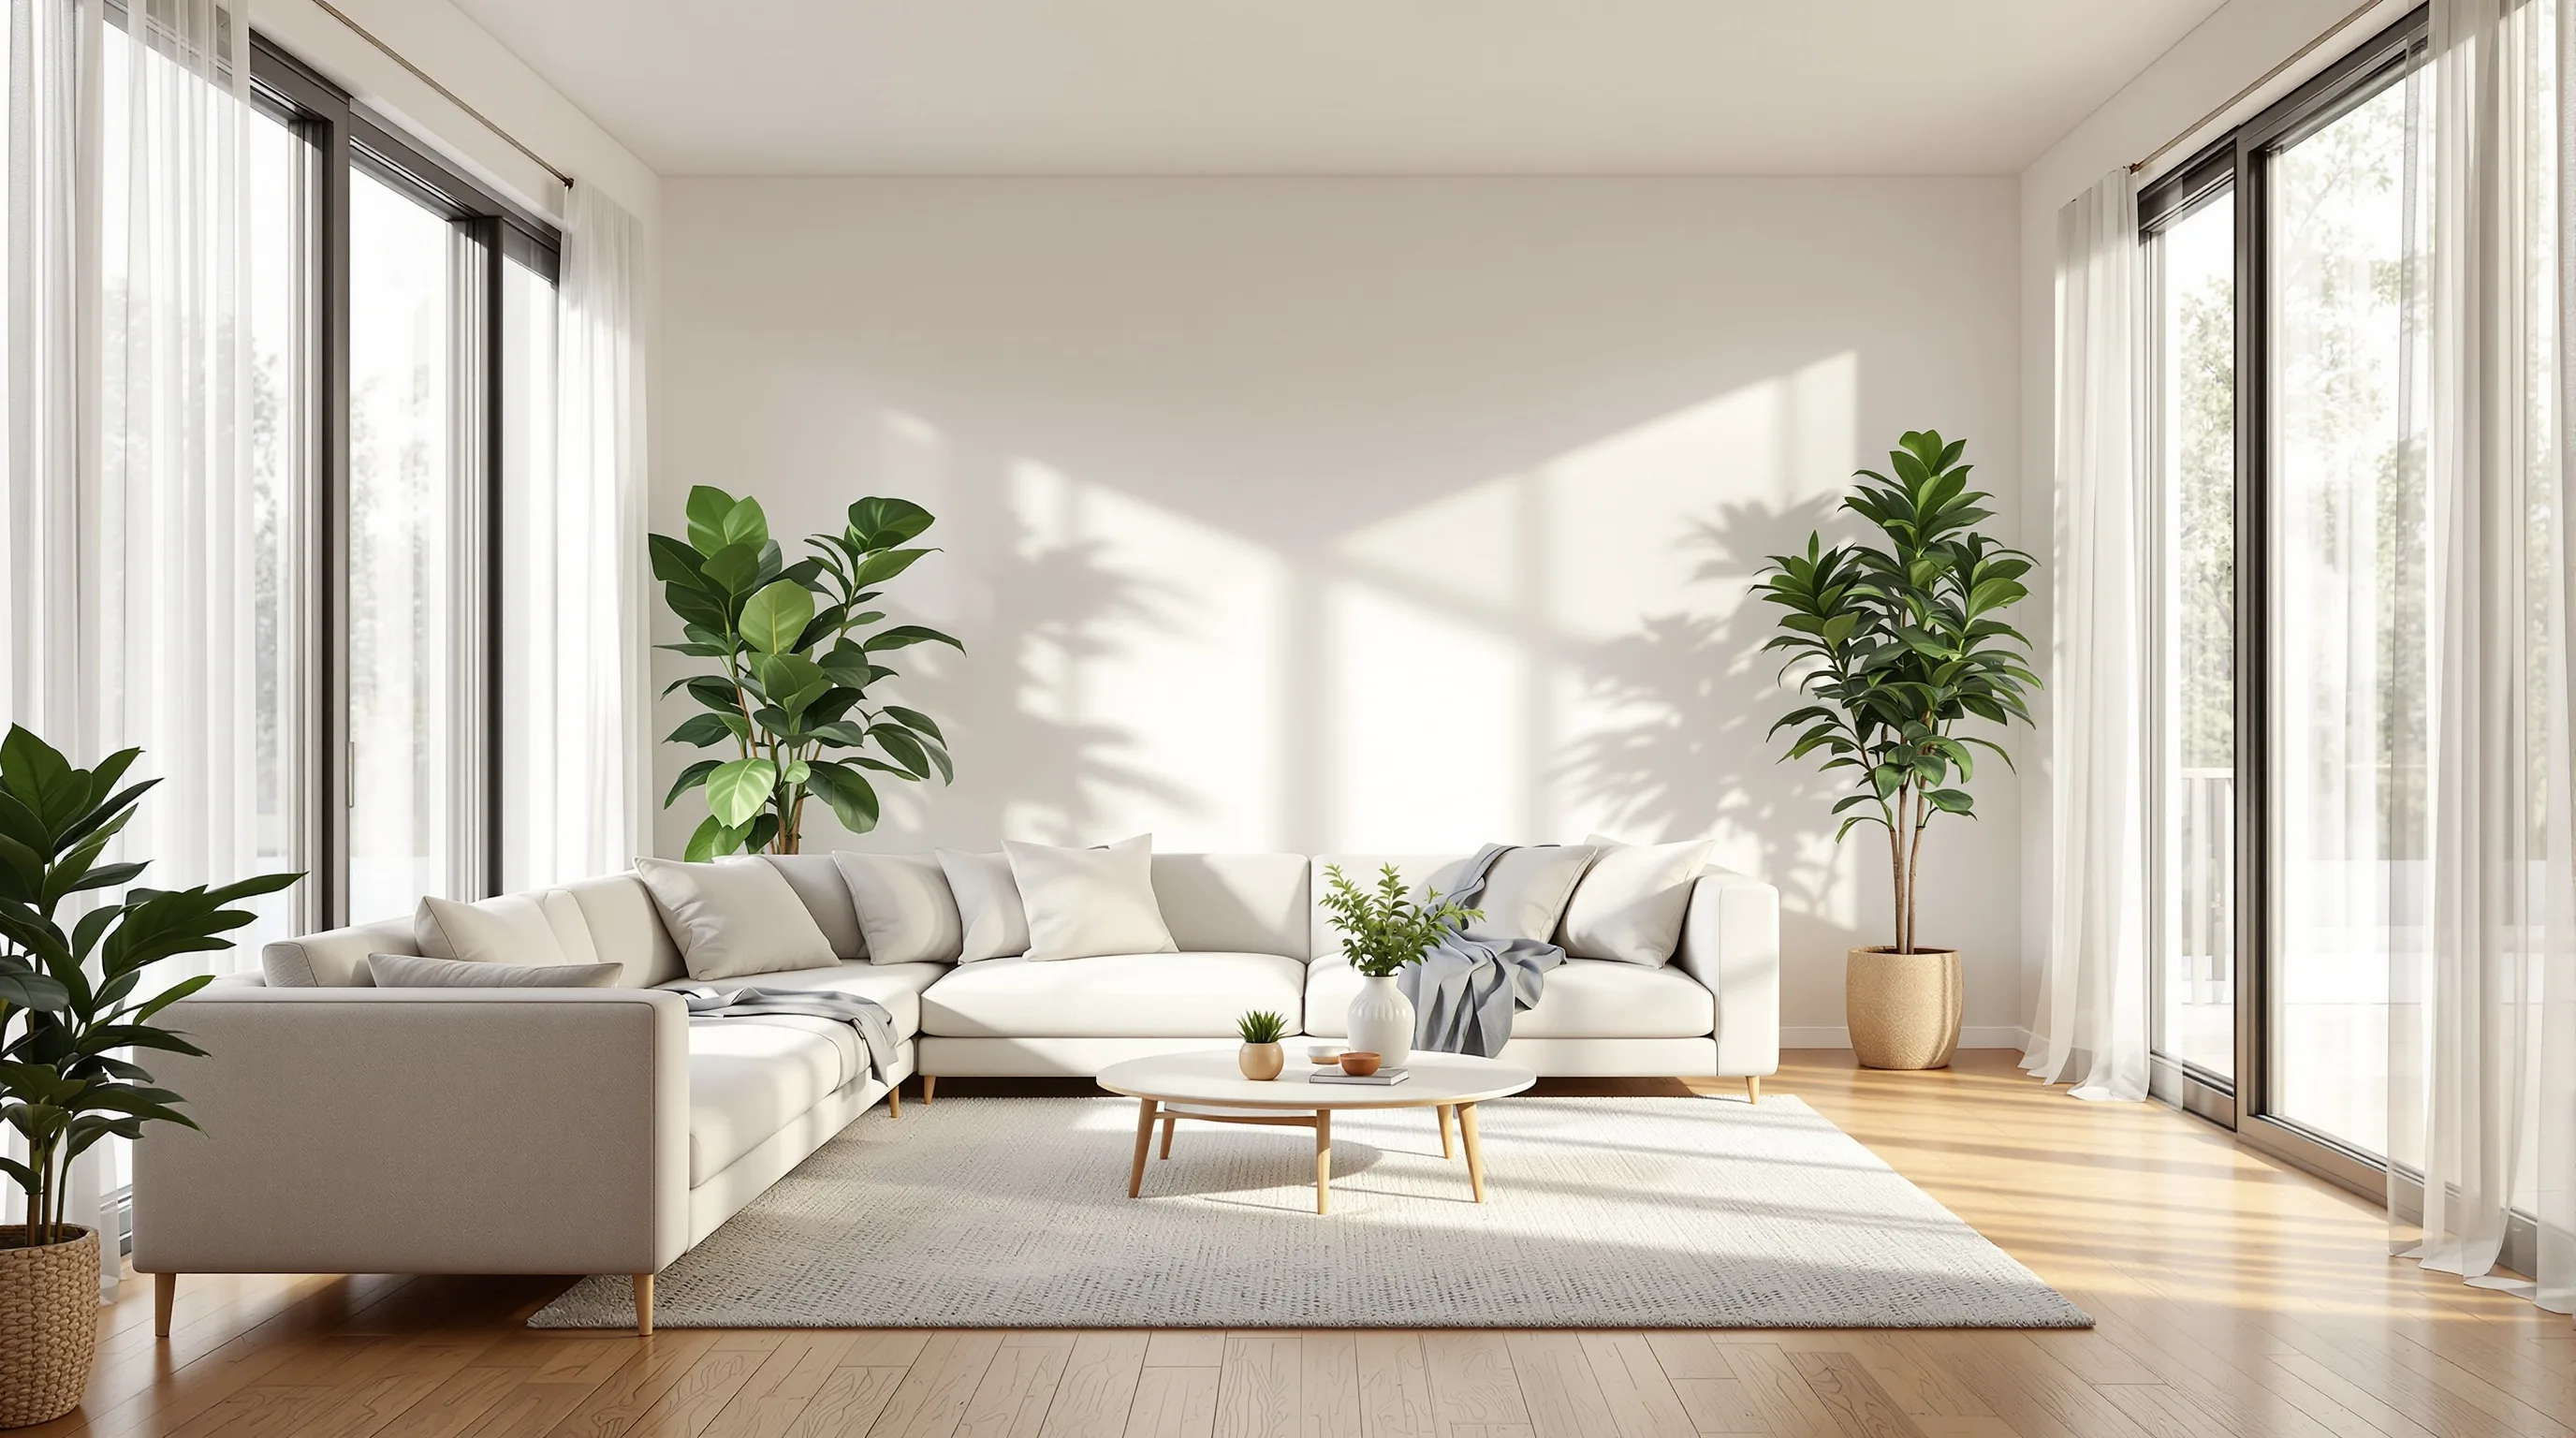
Why does your render look flat, and where should you start improving it with AI?
Improving a render with AI starts with working out why it looks flat, because each cause has a different fix. Changing materials does little while the light is flat, and fixing the light will not cure blur. The table puts the symptom, the likely cause, the BentoMesh tool to look at and the lasting fix in your render engine side by side. Causes and engine-side fixes come from general practice; tool and task names are as they appear in the interface.
| Symptom | Likely cause | Tool and task in BentoMesh | Lasting fix in your engine |
|---|---|---|---|
| No shadows, everything evenly lit | The light has no clear direction | Render Lab, Edit Render, Lighting task | Add one clearly directional light (sun or window light) and check where the shadows fall |
| Floor, counter and walls look like plastic | Surfaces share the same sheen or have no reflection | Edit Render, Material task | Set reflection surface by surface, based on the real material |
| The scene is empty and sterile | No plants, textiles, accessories or people | Edit Render, Add task; Add People & Cars | Place plants, textiles and accessories in the scene |
| The image is blurry or small | The output size was set too low | Upscale, as the last step | Raise the output size and render again |
| Cables, a TV or clutter catch the eye | Objects that should not be there stayed in the scene | Edit Render, Remove task | Delete those objects from the model |
| You wanted sunset and got midday light | The sun time and position are wrong | Lighting task: “Give it warm sunset light” | Set the sun height and direction for the time you want |
One distinction makes the diagnosis easier: shrink the image until it fits your screen, then view it at 100 percent. If it already looks flat when small, the problem is light, materials or the scene. If it only falls apart when you zoom in, the problem is resolution. Still not sure which row fits? You can upload the image to Render Analysis; the sixth section covers it.
How do you improve light and materials with Edit Render in Render Lab?
Render Lab has three modes: Edit Render, Generate from Scratch and Quick Render. The tabs appear in that order, and with no saved preference Edit Render opens first. The interface describes it as “Enhance an existing image, change the style”, which is the right mode when you already have a render. You can reach the same flow from the first screen of Create Render through its Edit Render option.
1. Upload the image. JPG, PNG or WEBP, up to 15 MB.
2. Pick a task. Under “What do you want to do?” you will find Material, Lighting, Add, Remove and Style. Once you pick one, the interface shows a note for that task and a set of ready-made suggestions.
3. Write your request. Type your own sentence in the text box or click one of the suggestions; the suggestion text is added to the box. Ask for one thing.
4. Click Apply Changes and wait for the result.
5. Compare. The Compare button opens a “Before / After Comparison” view. If you do not like the result, make the next request narrower.
Lighting task
The interface note reads: “Only light, shadows and time of day change; the space and furniture stay the same.” The ready-made suggestions are:
- “Make it night with the interior lamps on”
- “Give it warm sunset light”
- “Increase the daylight from the windows”
- “Add warm recessed spotlights to the ceiling”
Anything about shadows and the direction of light belongs to this task. If you want a new fixture, say so explicitly; the task is not meant to add lamps or spotlights you did not ask for.
Material task
The interface note reads: “Only materials and colors change; object positions, shapes and lighting are kept.” Suggestions:
- “Make the floor oak parquet”
- “Make the countertop white marble”
- “Paint the walls anthracite gray”
- “Clad the main wall in exposed brick”
Change a plastic-looking surface by naming what it should really be; one surface, one sentence. “Marble” or “oak” is a general description and does not give the veining or tone of a specific product. These notes are what the interface aims for, not a guarantee, so compare the result with your source to see whether positions, shapes and light were really kept.
When the render is not flat, just in the wrong mood
Then there is the Style task. Its note reads: “Furniture, decor and finishes follow the style; walls, windows and the camera angle stay the same.” The ready-made suggestions include Minimalist, Japandi, Industrial and Scandinavian, plus three Turkish styles: a Turkish heritage mansion (konak), a nostalgic Turkish home and a Black Sea highland house (yayla). If you want to see the same photo in several styles side by side, Style Comparison is a separate tool.
Why ask for only one change per round?
Each task works with its own preservation rule: the Material task aims to keep the light, the Lighting task the furniture, the Add task everything already in the scene. If you ask for new flooring and new light in one request, the request fights the rule of the task you picked. And when the result is not what you wanted, you cannot tell which sentence broke it.
Clicking a suggestion does not send a request; it only adds the text to the box, joined with a comma if the box already has text. So clicking two suggestions in a row means asking for two changes at once. Use suggestions one at a time and apply each in its own round. After every result the task selection and the text box are cleared, so pick the task again for the next round.
What is the edit history for?
Every result enters the Edit history strip as a new version, and the strip appears after the first result. The interface says: “Click a version to continue from it.” If the third round broke something, go back to the second version and phrase the request differently. By default an edit is applied to the version on screen. After the first result, an “Apply to the original image” checkbox appears; tick it and the edit is applied to the image you first uploaded.
- The last round was good: leave the default and build the next request on top of it.
- A round broke something: click the earlier version in the strip and continue from there.
- Small drifts are stacking up: tick “Apply to the original image” and write the request again on the first image.
How do you bring an empty, sterile scene to life?
If the scene still looks empty after you fix the light and materials, the problem is the scene: without plants, textiles, accessories and people, an interior looks like a model. The Add task is for this. Its note reads: “Only the item you name is added; nothing existing is moved or removed.” Suggestions:
- “Add indoor plants in suitable spots”
- “Add a textured rug on the floor”
- “Add decorative cushions to the sofa”
- “Hang an abstract painting on the wall”
Add one item per round; asking for the rug and the painting in the same sentence makes it harder to see which one looks wrong and why. The opposite case is also covered: if the scene is cluttered rather than empty, there is a Remove task. Its suggestions are “Remove the clutter and small loose items”, “Remove the TV and its stand”, “Remove the people from the scene” and “Remove the visible cables”. According to the interface note, only the item you name is removed and its spot is filled naturally with the surface behind it.
If you want to add people or vehicles
For a sense of scale, Add People & Cars is a separate tool. It takes a finished render and adds people indoors, or people and vehicles outdoors. JPG or PNG, up to 20 MB. The options are:
- Space: Interior or Exterior.
- How many people: One person, A few people or Crowd.
- Age group, Clothing and Time of day rows.
- Outdoors only, also: Vehicle density, Vehicle class and State (Parked or Moving).
The aim is to bring the scene to life without touching the architecture; still, compare the result with your source. Once the result is ready you can go on to make a video from the same page.
What if the resolution is too low: fix first, then enlarge?
Fix first, enlarge last, for two reasons. First, Edit Render shrinks the image you upload in your browser so that its longest side does not exceed 2048 pixels; an image that is already within that limit keeps its size. If the longest side of an enlarged file is above 2048 pixels, part of what the enlargement gained is lost at this step. Second, every edit can change fine detail a little, so it is cleaner to enlarge once, on the final version you approved.
What does enlarging do, and what does it not do?
Upscale enlarges the image. As of 11 November 2026 the scale factors you can select are 2x and 4x; there is also a Single and a Batch mode, and batch results can be downloaded as a ZIP. In Single mode the image you upload is first shrunk in your browser so that its longest side does not exceed 1600 pixels, and the enlargement is made from that smaller image; check the pixel size of the result you download. The tool enlarges by regenerating detail, so fine texture, small text and small objects can come out different from the source; zoom to 100 percent and check the result.
Enlarging does not fix light or materials: a flat render, enlarged, is just a bigger flat render. If the blur comes from the output size, the real fix is to export a larger image from your render engine and render again.
The whole sequence in one place
1. Diagnose. Find the row in the table that fits your render.
2. Fix the light. If needed, write one request in the Lighting task.
3. Fix the materials. Work surface by surface in the Material task.
4. Fill or empty the scene. Ask for one item in the Add or Remove task.
5. Check. Put the result next to the source; if it has drifted, go back to an earlier version.
6. Enlarge. Give the version you approved to Upscale.
(Example scenario) An interior designer's living room render came out flat: the light has no clear source, the floor looks like plastic and the scene is empty. She uploads it to Edit Render, asks for “Increase the daylight from the windows” in the Lighting task and checks it with Compare. Then come “Make the floor oak parquet” in the Material task and “Add a textured rug on the floor” in the Add task. If the window count and framing still match the source, she enlarges the last version with Upscale; if one has shifted, she goes back to the version before that round.
Has the result drifted from the source, and when should you go back to the render engine?
After every round, put the result next to the source. The “only this changes” notes in the interface are a goal; you are the one who checks whether they held. What to look at:
- Are the number and positions of windows and doors the same?
- Are furniture shapes and counts the same (sofa arms, chair legs, coffee table)?
- Are framing and perspective the same, and is anything cropped at the edges?
- Are the ceiling line, wall corners and fixture positions the same?
- Has an object you did not ask for appeared or disappeared?
- Do things that carry dimensions (door height, counter depth, window proportions) still make sense?
Compare shows the result next to the version it was applied to, so each round is compared with the one before it. If you want to compare with the first image, make the edit with “Apply to the original image” ticked, and the comparison is then made directly against the original.
For a second pair of eyes there is Render Analysis: for the render you upload it returns a text report with a design score, strengths, areas to improve and professional suggestions, which you can copy or download. It does not generate an image and does not fix the image. It does not promise to find every flaw, and it is not a dimension or code check.
Fix it with AI or render again in your engine?
| Situation | Fix it with AI | Render again in your engine |
|---|---|---|
| The light is flat or at the wrong time of day | Lighting task, one request | The scene has no light source or shadow at all, so set the light up again |
| Materials look like plastic | Material task, surface by surface | The same material repeats on many surfaces, so fix it in one place in the engine |
| The scene is empty | Add task, Add People & Cars | The layout was wrong from the start (a sofa blocking a window, say) |
| The image is small | Upscale, as the last step | You need print or large-format output, so export bigger and render again |
| Windows, furniture shapes or framing have shifted | Do not try to patch it; the geometry may have changed | Start again from the source, or fix the model and render |
| The design changed (a wall moved, a dimension was corrected) | Not suitable; an image is not a measurement | Update the model and render again |
A rough rule: if the problem is how it looks (light, surfaces, accessories, resolution), try AI rounds first; if the problem is layout or dimensions, go back to the engine.
What are the honest limits of improving a render with AI?
The image you fix this way is a presentation and decision image. Use it knowing its limits:
- An image is not a measurement. It gives no room dimensions or quantities; take dimension decisions from drawings and on site.
- Geometry can change. Windows, furniture shapes or framing can come out different from the source; BentoMesh does not guarantee geometry is fully preserved. The “only this changes” notes in the interface are goals.
- A material is not a product. “Oak parquet” or “white marble” is a general description, not the tone of a specific product. Decide with a physical sample seen in the room's own light.
- Enlarging regenerates detail. Fine texture and small text can come out different from the source.
- Added objects are not design decisions. Plants, a rug and a painting are for atmosphere; they are not a layout proposal or a product choice.
- The free tier adds a watermark. Images generated on the free tier carry the BentoMesh watermark; images generated after your first real payment do not.
- Processing happens in the cloud. The image is processed on the BentoMesh server and at a third-party AI provider that produces the result; check permissions for a confidential project first.
- It is an illustration. Say it is a rendering when you show it to a client or use it in a listing.
- The interface can change. Task names and suggestions were written against the interface as of 11 November 2026.
- There is no Android app. The iPhone app's tool list changes between versions; the flow in this guide is for the tools on the website.
Registration is free; when you verify your email or phone number, or sign in with Google or Apple, a one-time welcome credit is added to your account, subject to the conditions on the sign-up page. Current packs are on the credits page. Some pages linked here do not have an English version yet and open on the Turkish site. This guide is also available in Turkish: Türkçe sürüm / Read in Turkish.
Frequently asked questions
How do you improve render quality with AI?
First work out why it looks flat: light, materials, an empty scene or resolution. In BentoMesh, use the Lighting, Material and Add tasks of Edit Render in Render Lab for the first three, asking for one change per round, and enlarge with Upscale last. Compare each result with the source, since geometry may have changed.
Why does a render of my SketchUp scene look unrealistic?
Typical causes are light with no clear direction, surfaces that share the same sheen or have no reflection, and an empty scene, whatever program the render came from. Fix whichever of these applies: in BentoMesh, try the matching task in Edit Render, or fix the light and reflections in your engine and render again.
Can I fix a V-Ray or Lumion render without rendering it again?
You can try fixing look problems such as light, material color, an empty scene and resolution with AI rounds: save the render as JPG, PNG or WEBP and upload it to Edit Render. If a window position, furniture shape or dimension is wrong, AI will not correct it and may change the geometry; fix the model and render again in your engine.
Will my design change when AI improves a render?
It can. The interface says “only this changes” for each task, but that is a goal, and BentoMesh does not guarantee geometry is fully preserved. After every round, check the window count, furniture shapes and framing against the source. If you see drift, go back to the version before that round or render again in your engine.
Should I upscale first or fix the light first?
Fix the light and materials first and enlarge last. Edit Render shrinks the image you upload in your browser so its longest side does not exceed 2048 pixels, so if an enlarged file is above that limit, the pixels you gained are lost in editing. Because every edit can change fine detail a little, enlarge once, on the final version you approved.
Does enlarging a low-resolution render make it more realistic?
Not if the problem is light or materials; it only raises the resolution. A flat render, enlarged, is just a bigger flat render. Upscale enlarges by regenerating detail, so fine texture and small text can come out different from the source. For realism, solve the light, material and scene problems first and enlarge last.
What file can I upload to Edit Render?
JPG, PNG or WEBP, up to 15 MB. The image is shrunk in your browser so that its longest side does not exceed 2048 pixels; if it is already within that limit it keeps its size. Check the pixel size of the result you download yourself. If you need print or large-format output, consider exporting a larger image from your engine and rendering again.
Does Render Analysis fix the render?
No. Render Analysis does not generate an image; for the render you upload it returns a text report with a design score, strengths, areas to improve and professional suggestions. Read it as an AI opinion: it does not promise to find every flaw, and it is not a dimension or code check.
Can I ask for several changes in one request?
You can, but it is not recommended. Each task has its own preservation rule: the Material task aims to keep the light, the Lighting task the furniture. If one sentence asks for flooring, light and a rug, the request fights that rule, and you cannot tell which part broke the result. Ask for one change per round and go back through the edit history.